
Tutorial: Make a relaxing eye pillow
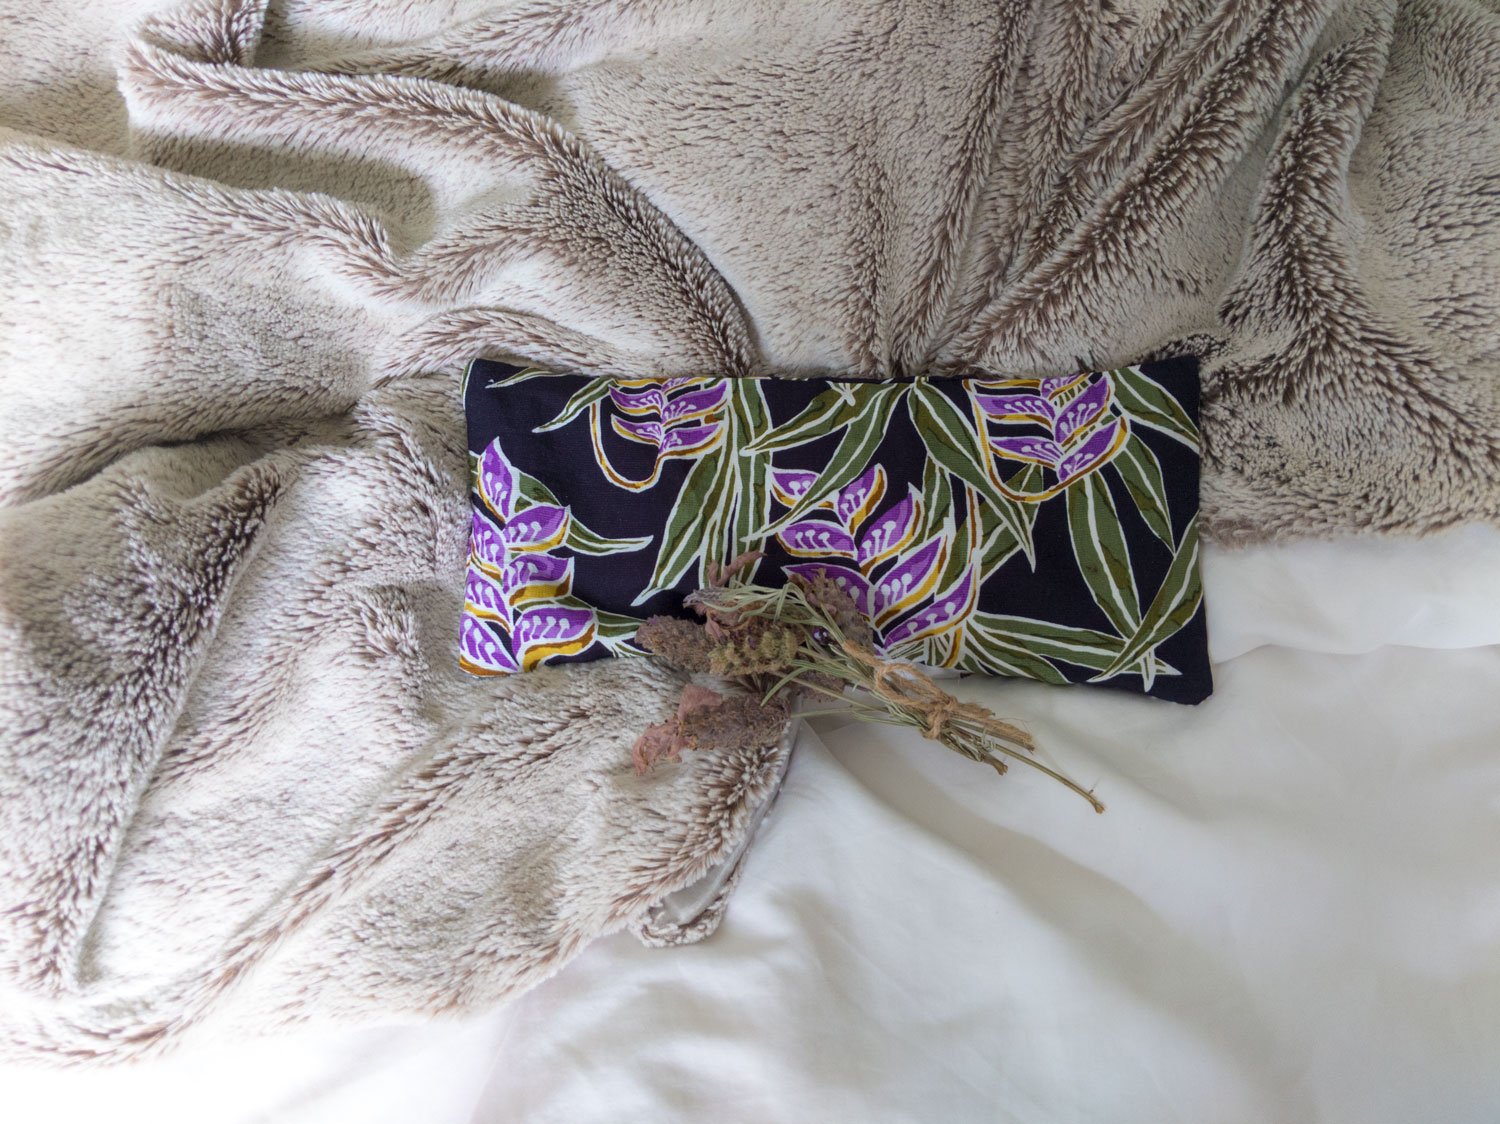
There’s nothing more relaxing than treating yourself to some much deserved me time. Whether your idea of relaxing is reading a book, binge watching Netflix or practising meditation this lavender and chamomile filled eye pillow will be your perfect companion. Follow our tutorial to create one of your very own.
Supplies
1 or 2 types of fabric, preferably natural fibres such as cotton or linen, scraps will do
350grams of dried filling such as rice, beans or any type of grain
Dried lavender and chamomile, or some essential oils
Thread
Sewing machine
Iron and ironing board
Scissors
Step 1
Cut out your fabric

To start, you’ll need to cut out 5 rectangles which will form the inside and outside covers of our eye pillow. I chose to cut my pillow lining from a white cotton muslin, and my removable cover from some fabric scraps left over from the Savannah dress. If you only have one type of fabric, you can easily cut the inner and outer from the same fabric.
Step 2
Sew lining
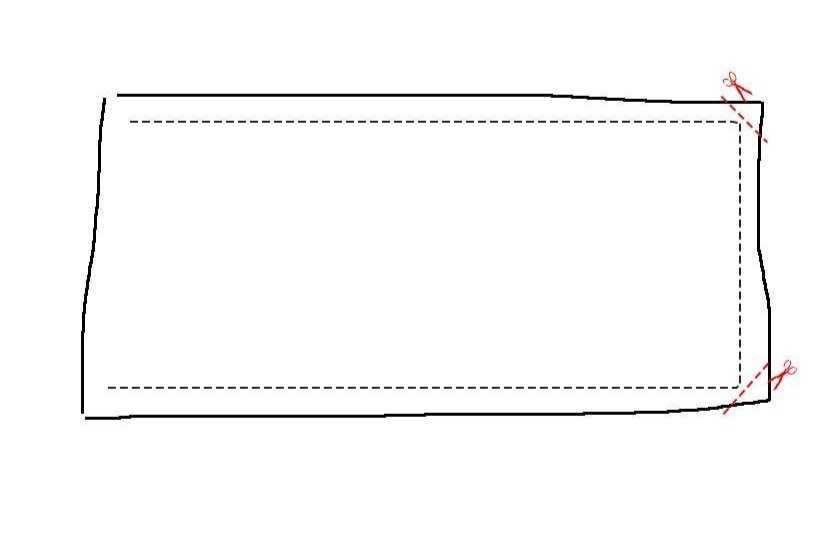
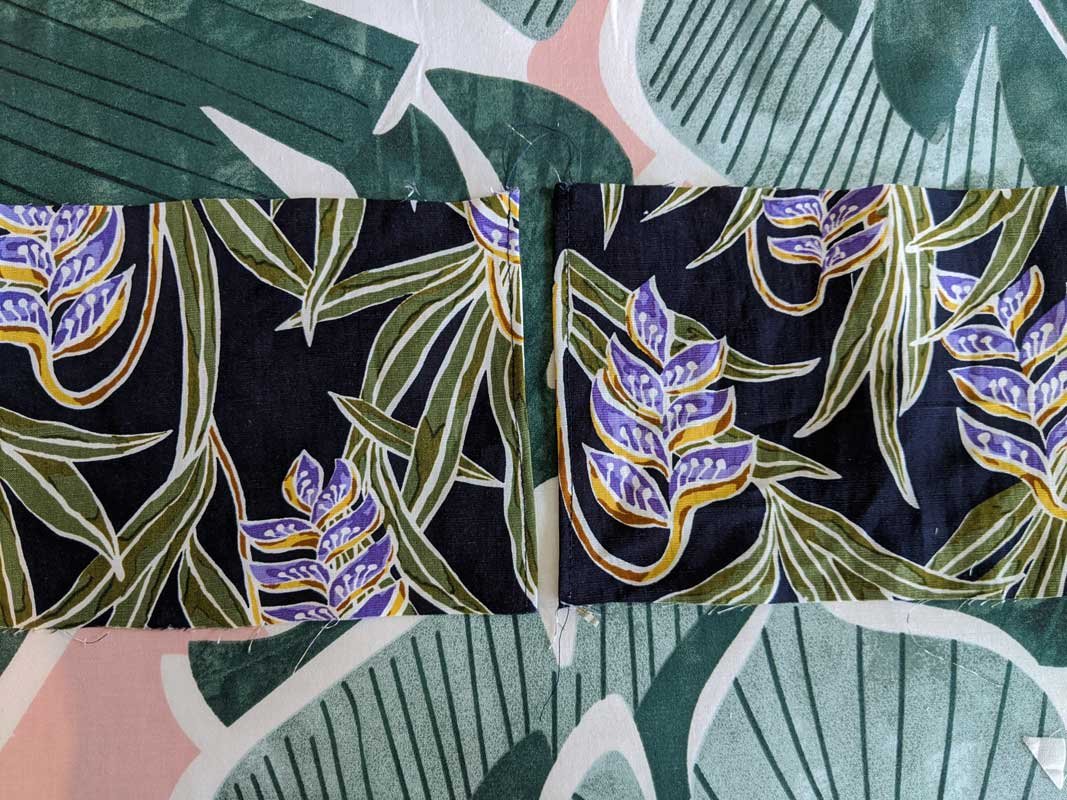
Take your two lining pieces and place them together with the right sides facing. Sew along three of the four sides as shown using a 1cm seam allowance. Make sure to backstitch at the start and finish.
Snip the corners as shown by the red dotted line. Snip close to (but not in to) your stitches, this will create a nice square corner. Turn your lining right sides out, Press flat.
This step is optional but if, like me, you want to make triple sure your filling won't be able to come out, you can also choose to edgestitch around all sides.
Step 3
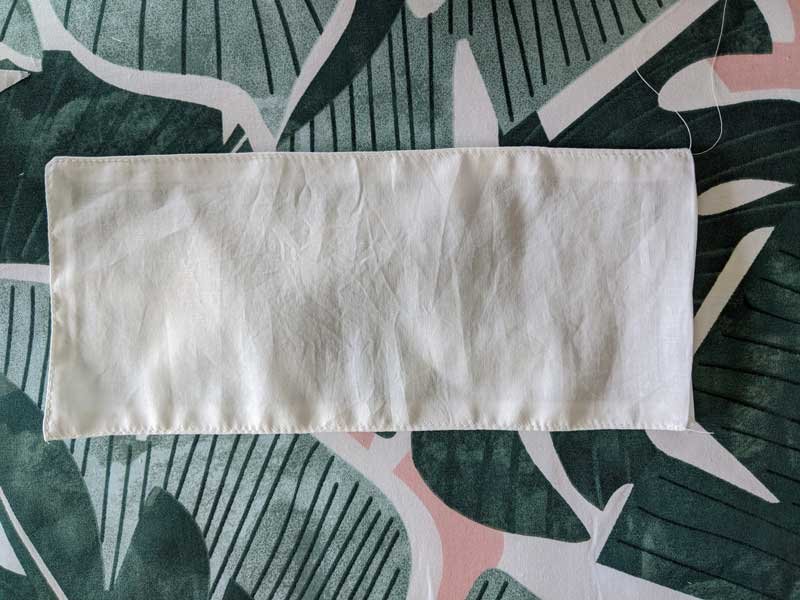
Fill and seal your lining
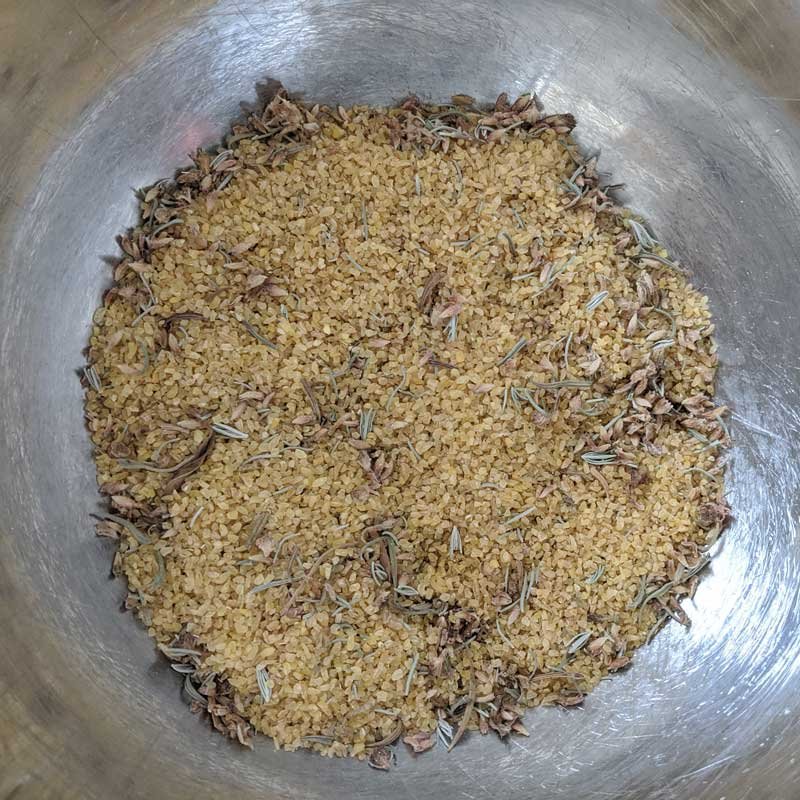
Take your lining and insert the filling material into it using the opening on the fourth (unsewn side). For my filling I used Bulgar wheat, dried lavender heads from my garden and dried chamomile (from tea bags). You can choose to use any type of dried grain, wheat or bean as your filling. 350 grams was just the right amount for a medium filled bag, but you can use more or less according to your preference. If you don’t have real lavender or chamomile, a few drops of essential oils will work well too.
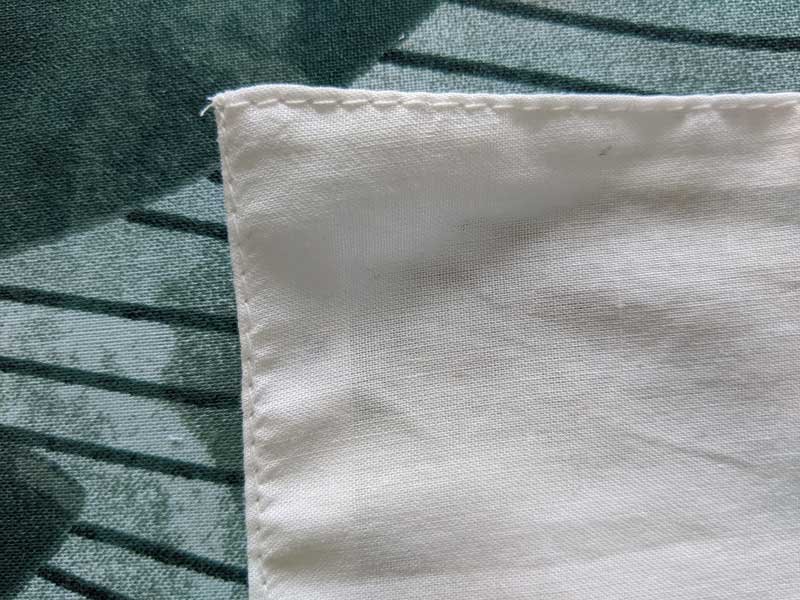
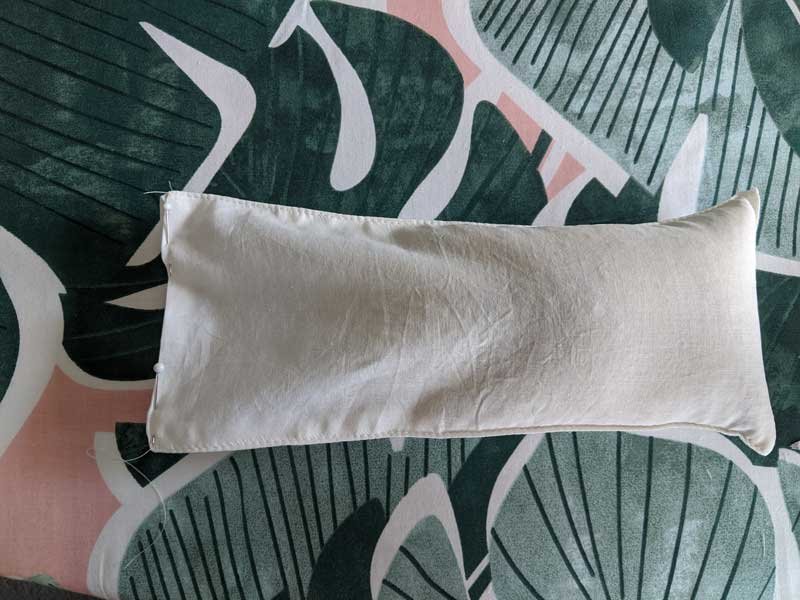
Once you’ve filled your bag, carefully take it back to your sewing machine, fold the raw edges of the opening under 1cm, and sew the opening closed. I chose to sew two parallel lines of stitches to make it extra secure.
Step 4
Hem your envelope back pieces
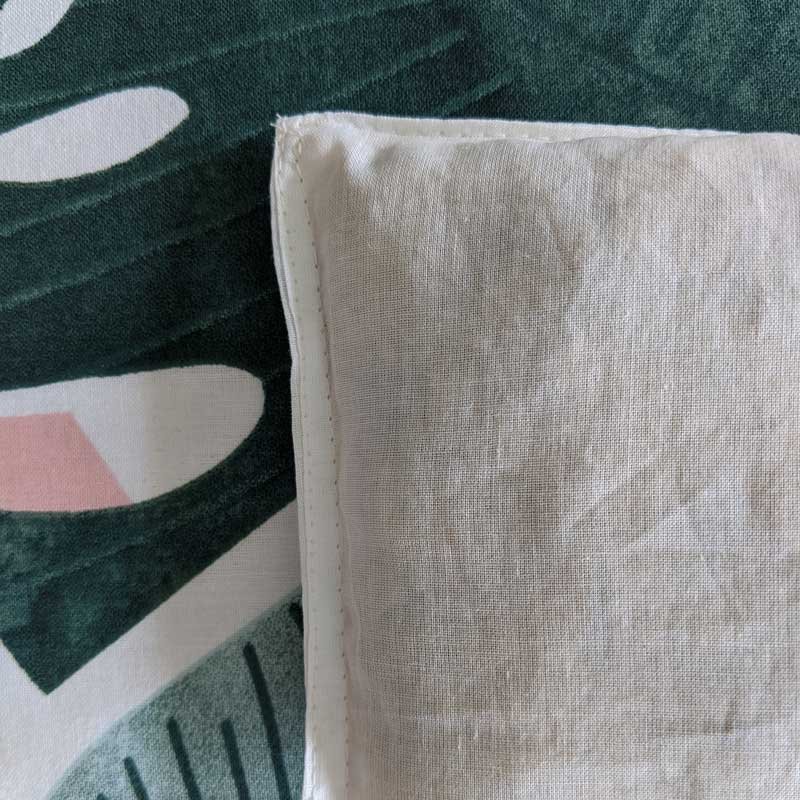
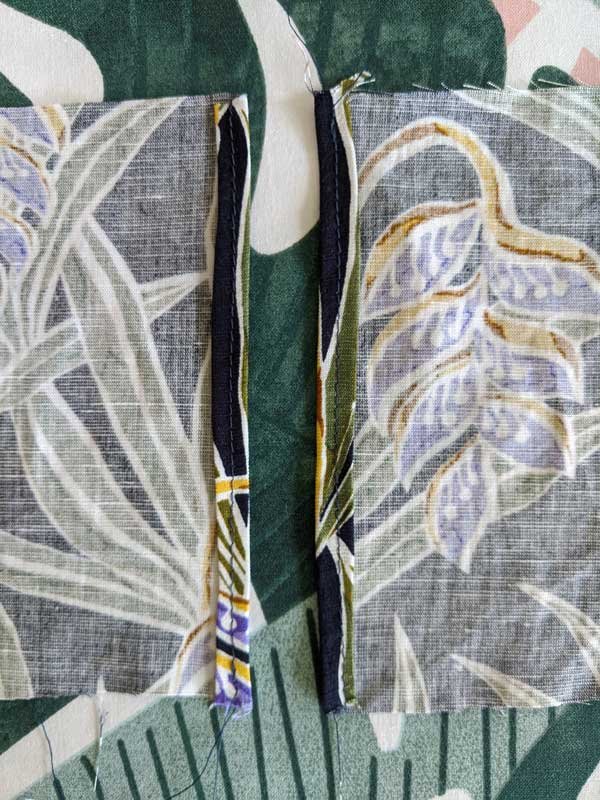
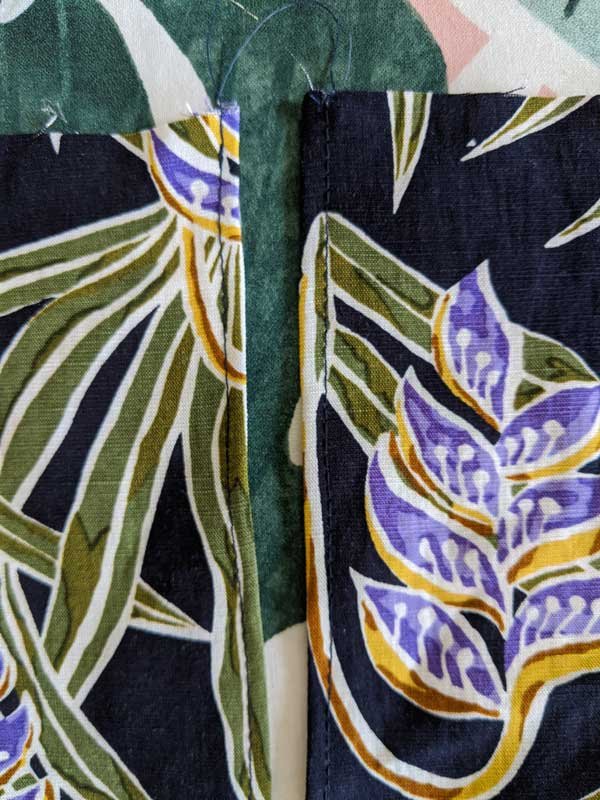
Take the two smaller rectangles you cut out of the outer/cover fabric. Using an iron, fold and press one of the short edges over to the wrong side about 5mm. Fold over 5mm once more to create a double folded edge. Stitch down. Repeat on the second small rectangle.
Step 5
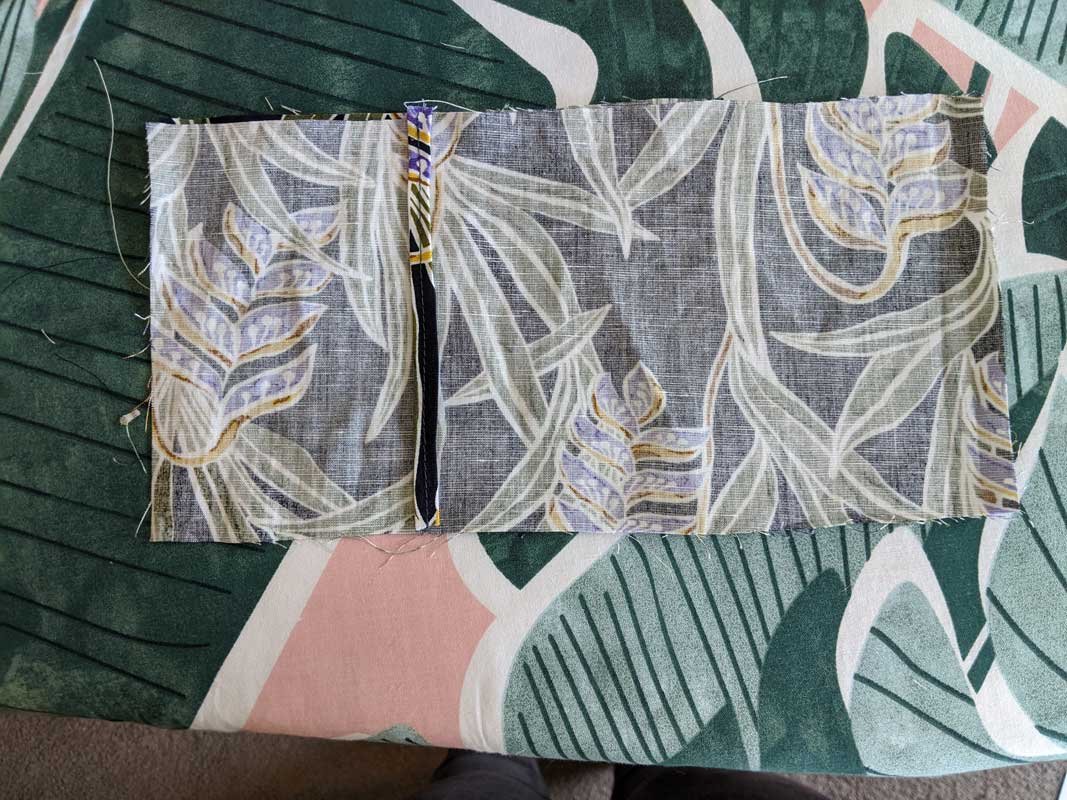
Assemble your cover
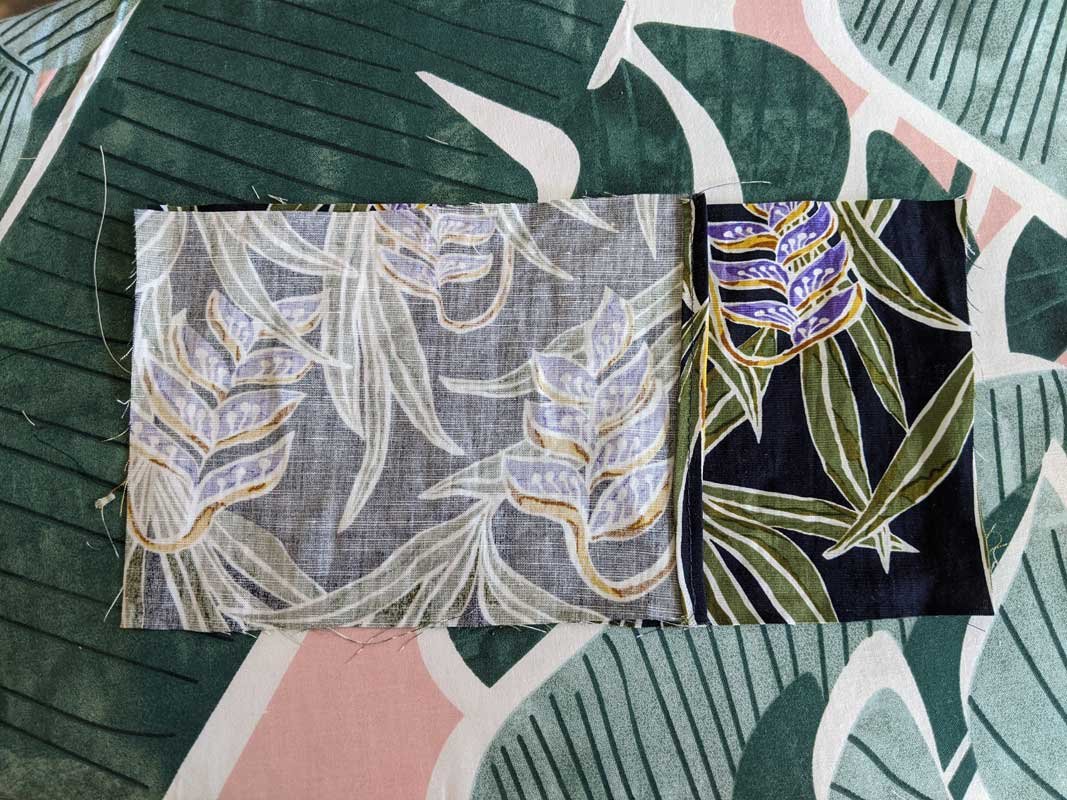
Next, take the large rectangle and place it right side up on your sewing table. Place your two smaller pieces on top with right sides facing down and sewn edges facing towards the centre. The two smaller rectangles should overlap slightly in the middle. This is what will create the envelope opening.
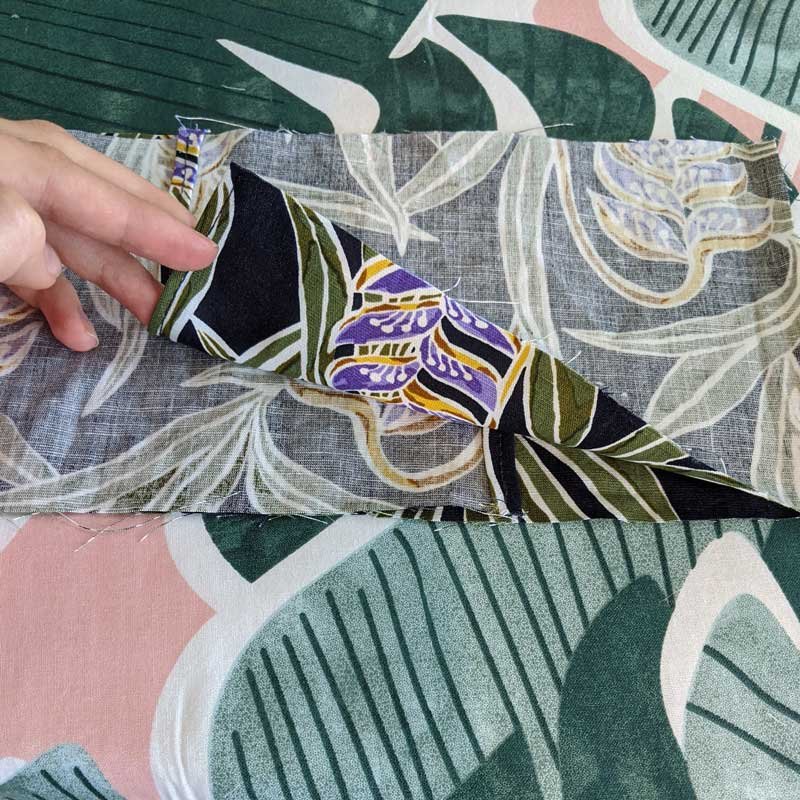
Pin and stitch around all four sides using a 1cm seam allowance, backstitching at the start and finish. You can also backstitch when you encounter each of the four hems of the envelope pieces to ensure your opening is extra secure.
Finish the raw edges with a zigzag or overlock stitch. Turn your cover to the right side and press.
Step 6
Enjoy your new eye pillow

Insert your wheat filled bag into the cover and you’re finished. This eye pillow can now be used as a relaxing addition to your bedtime routine. To wash the bag simply remove the cover and place it in the washing machine. If the scent of your bag fades over time, gently crush the inner bag with your hands to re-release the scent, or top up with essential oils.
Safety note:
This type of wheat bag is best kept at room temperature and used as an eye cover, or chilled in the fridge and used on the forehead for headache relief.
If you plan to use this bag as a heat pack please note the dried filling can be a fire hazard when heated. Please take these precautions:
Always place a glass of water in the microwave when heating your bag.
Never heat it for more than 2 minutes.
Ensure the bag has fully cooled before you reheat it again.
Never place a heated bag in your bed or under blankets.
If the bag is hot be careful not to burn sensitive areas of your skin, such as eyes.